Category: Quadcopter

I’m building a four rotor unmanned aircraft. It flies already, but it’s never really finished. Photo gallery here. There are various videos of the process (and from the quadcopter itself).

GPS fail, Geofence madness, crash!

Another quadcopter crash today. I was just hovering in my garden and it randomly flew into a fence. All four (carbon fiber reinforced) propellers broken, two motor mounts bent and a leg snapped.

Looking at the telemetry logs (which I happen to have as I had my laptop connected at the time) it seems the GPS suddenly reported the position wrong by a couple of hundred metres and the geofencing feature kicked in and it tried to return to launch. More investigation needed though.

I think I might change the fail safe to just auto-land, rather than RTL.

I may also do a complete rebuild and see if I can take the opportunity to make my quadcopter lighter and bit more agile.

Update

Actually, the GPS didn’t suddenly report a wrong position – and in fact, arducopter has protection against that exact kind of GPS glitch (it ignores sudden impossible increases in GPS position).

What actually happened is the GPS position slowly drifted away from where it really was, avoiding the arducopter glitch detection, until it went outside my configured geofence distance. At that point, it went into failsafe mode and tried to fly where it thought home was (RTL – return to land).

So, I’ve changed the failsafe mode from RTL to just “land” for now and am investigating the GPS problem (though I was at the bottom of my garden which has poor GPS reception).

Avoid quadcopter crashes with throttle failsafe

I crashed my quadcopter last week due to flying out of range of my transmitter, causing my quadcopter to drop out of the sky. This happened because I hadn’t calibrated my throttle failsafe properly.

This is for my Spektrum DX8 transmitter and AR8000 receiver, but it’ll be the same for most Spektrum devices (and the theory is most likely the same for any transmitter/receiver)

The theory

The theory is simple: Your receiver records your transmitter’s throttle position when you first bind them together. From then on, if the receiver loses contact with the transmitter, it defaults to outputting that throttle setting to your flight controller.

So usually, you’d make sure your throttle is down when you bind. So then, if you’re flying along at high throttle and go out of range, the receiver will just throttle down (and your quadcopter will drop out of the sky like a potato without a parachute).

Most flight controllers (mine is an APM 2.5 running ArduCopter 3.1.1) are able to land (or return to the launch point) automatically, but it needs to be able to differentiate between losing signal and you just throttling down (maybe you’re doing a stunt, or testing Newton’s law of universal gravitation).

The trick is, to have your transmitter output a lower throttle setting than the lowest stick position when you bind it to the receiver. That will allow your flight controller to tell the difference between you throttling down, and your receiver going into failsafe mode.

Throttle down low

There are a couple of ways to get your DX8 transmitter to go lower than the lowest throttle tick position but the simplest I found was setting the throttle travel setting temporarily:

  1. power on your DX8
  2. click the roller on the right to bring up the function list
  3. select “Servo Setup”
  4. select “Travel” and “Throttle” (actually the defaults)
  5. change the left hand “100%” up to the highest it’ll go (for my DX8 that was 150%)
  6. click the back button to get back out to the menu
  7. power off your DX8

spektrum-dx8-throttle-travel

Rebind

Now, your lowest throttle stick position is outputting a value of something like 920 to your flight controller. Now you go through the binding procedure. As a reminder:

  1. power transmitter and receiver off
  2. connect your bind adaptor to the bind plug on your receiver
  3. power on your receiver
  4. power on your transmitter whilst holding down the bind button (make sure your throttle is down!)
  5. wait for bind to complete
  6. power everything off and remove bind plug from receiver
  7. power everything back on, make sure binding worked.

Now you go back into the “Server Setup” menu on your transmitter and reset the travel back down to 100%, so your lowest throttle stick position is back to normal (around 1100).

So now, your lowest throttle stick position outputs something like 1100 to your flight controller, but if you power off your transmitter it will drop to something around 920.

Configure your flight controller

Now you can configure your flight controller to land, RTL or quantum leap or whatever when it can detect that it is out of range. On my ArduCopter, the defaults were all good (anything below 975 detected as failsafe) – I just had to enable failsafe.

Major quadcopter crash, dodgy propeller

2013-05-04 12.07.49

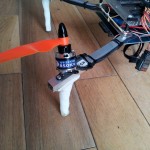
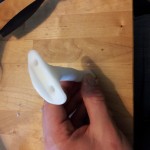
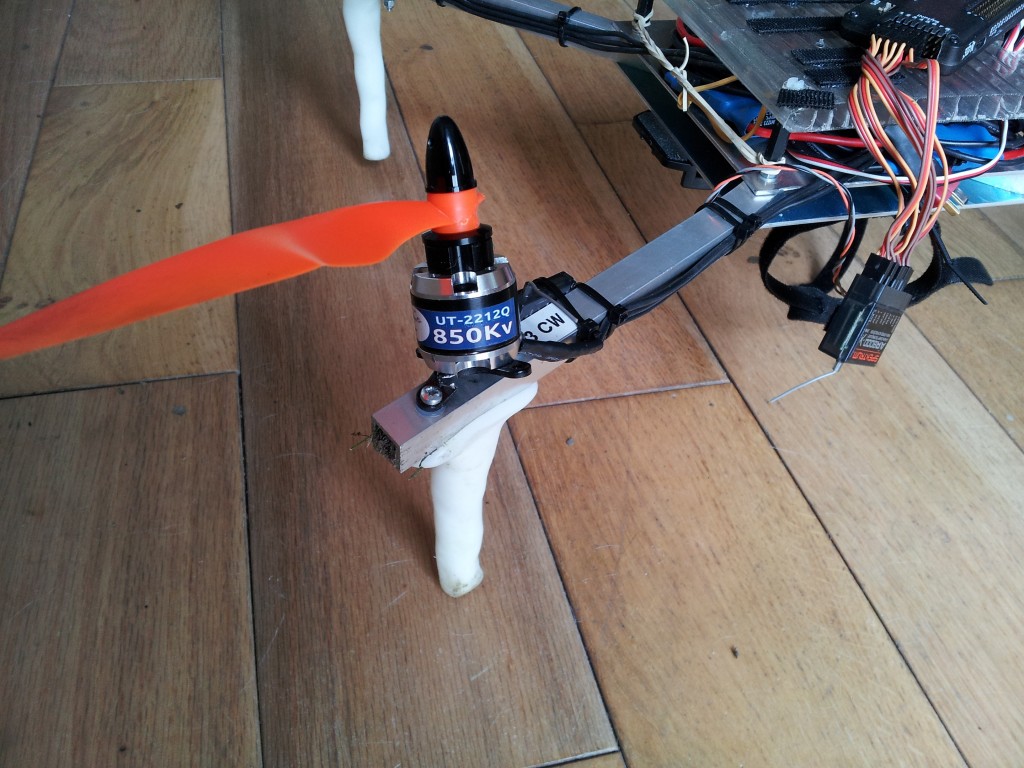
I had a major quadcopter crash a few weeks ago – and it wasn’t due to my dodgy flying skills. One of my propellers broke in mid-air; one blade snapped off from a prop at the hub. The prop was one of two new bright orange coloured ones I’d bought to help keep track of the direction of the aircraft, which worked very well for me until it crashed. Looking more closely at these new orange props I now notice that they are much thinner where they attach to the hub. My other props thicken out as they approach the hub making them much stronger. The orange ones are much weaker – bending them quickly results in white crease lines at the hub, which doesn’t happen with my black ones. Lesson learned, don’t buy cheap props (actually, they weren’t any cheaper, so the lesson is to understand how to recognise crap props).

At the time the prop snapped, I was about 20 metres up in the air, traveling horizontally at quite some speed. When it broke, which made a “ping” sound, I panicked and dropped the throttle and then realised that was wrong and throttled back up to try and cushion the landing. I’m not really sure to what extent that helped, but it hit the grassy ground hard. I was flying it in a field near my house and was prevented from immediately retrieving it by a group of curious horses that went to investigate this UFO crash landing site. Luckily they decided against trampling or eating it and eventually lost interest.

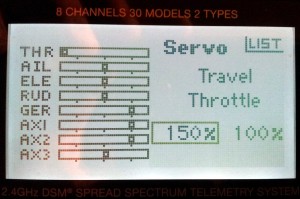
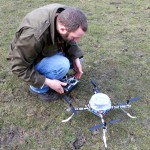
It was still powered up when I got to it, though unarmed. Annoyingly I’d decided against flying with the camera this time so didn’t have any dramatic footage of the accident.

2013-05-04 12.09.18

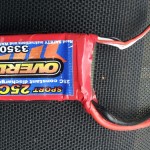
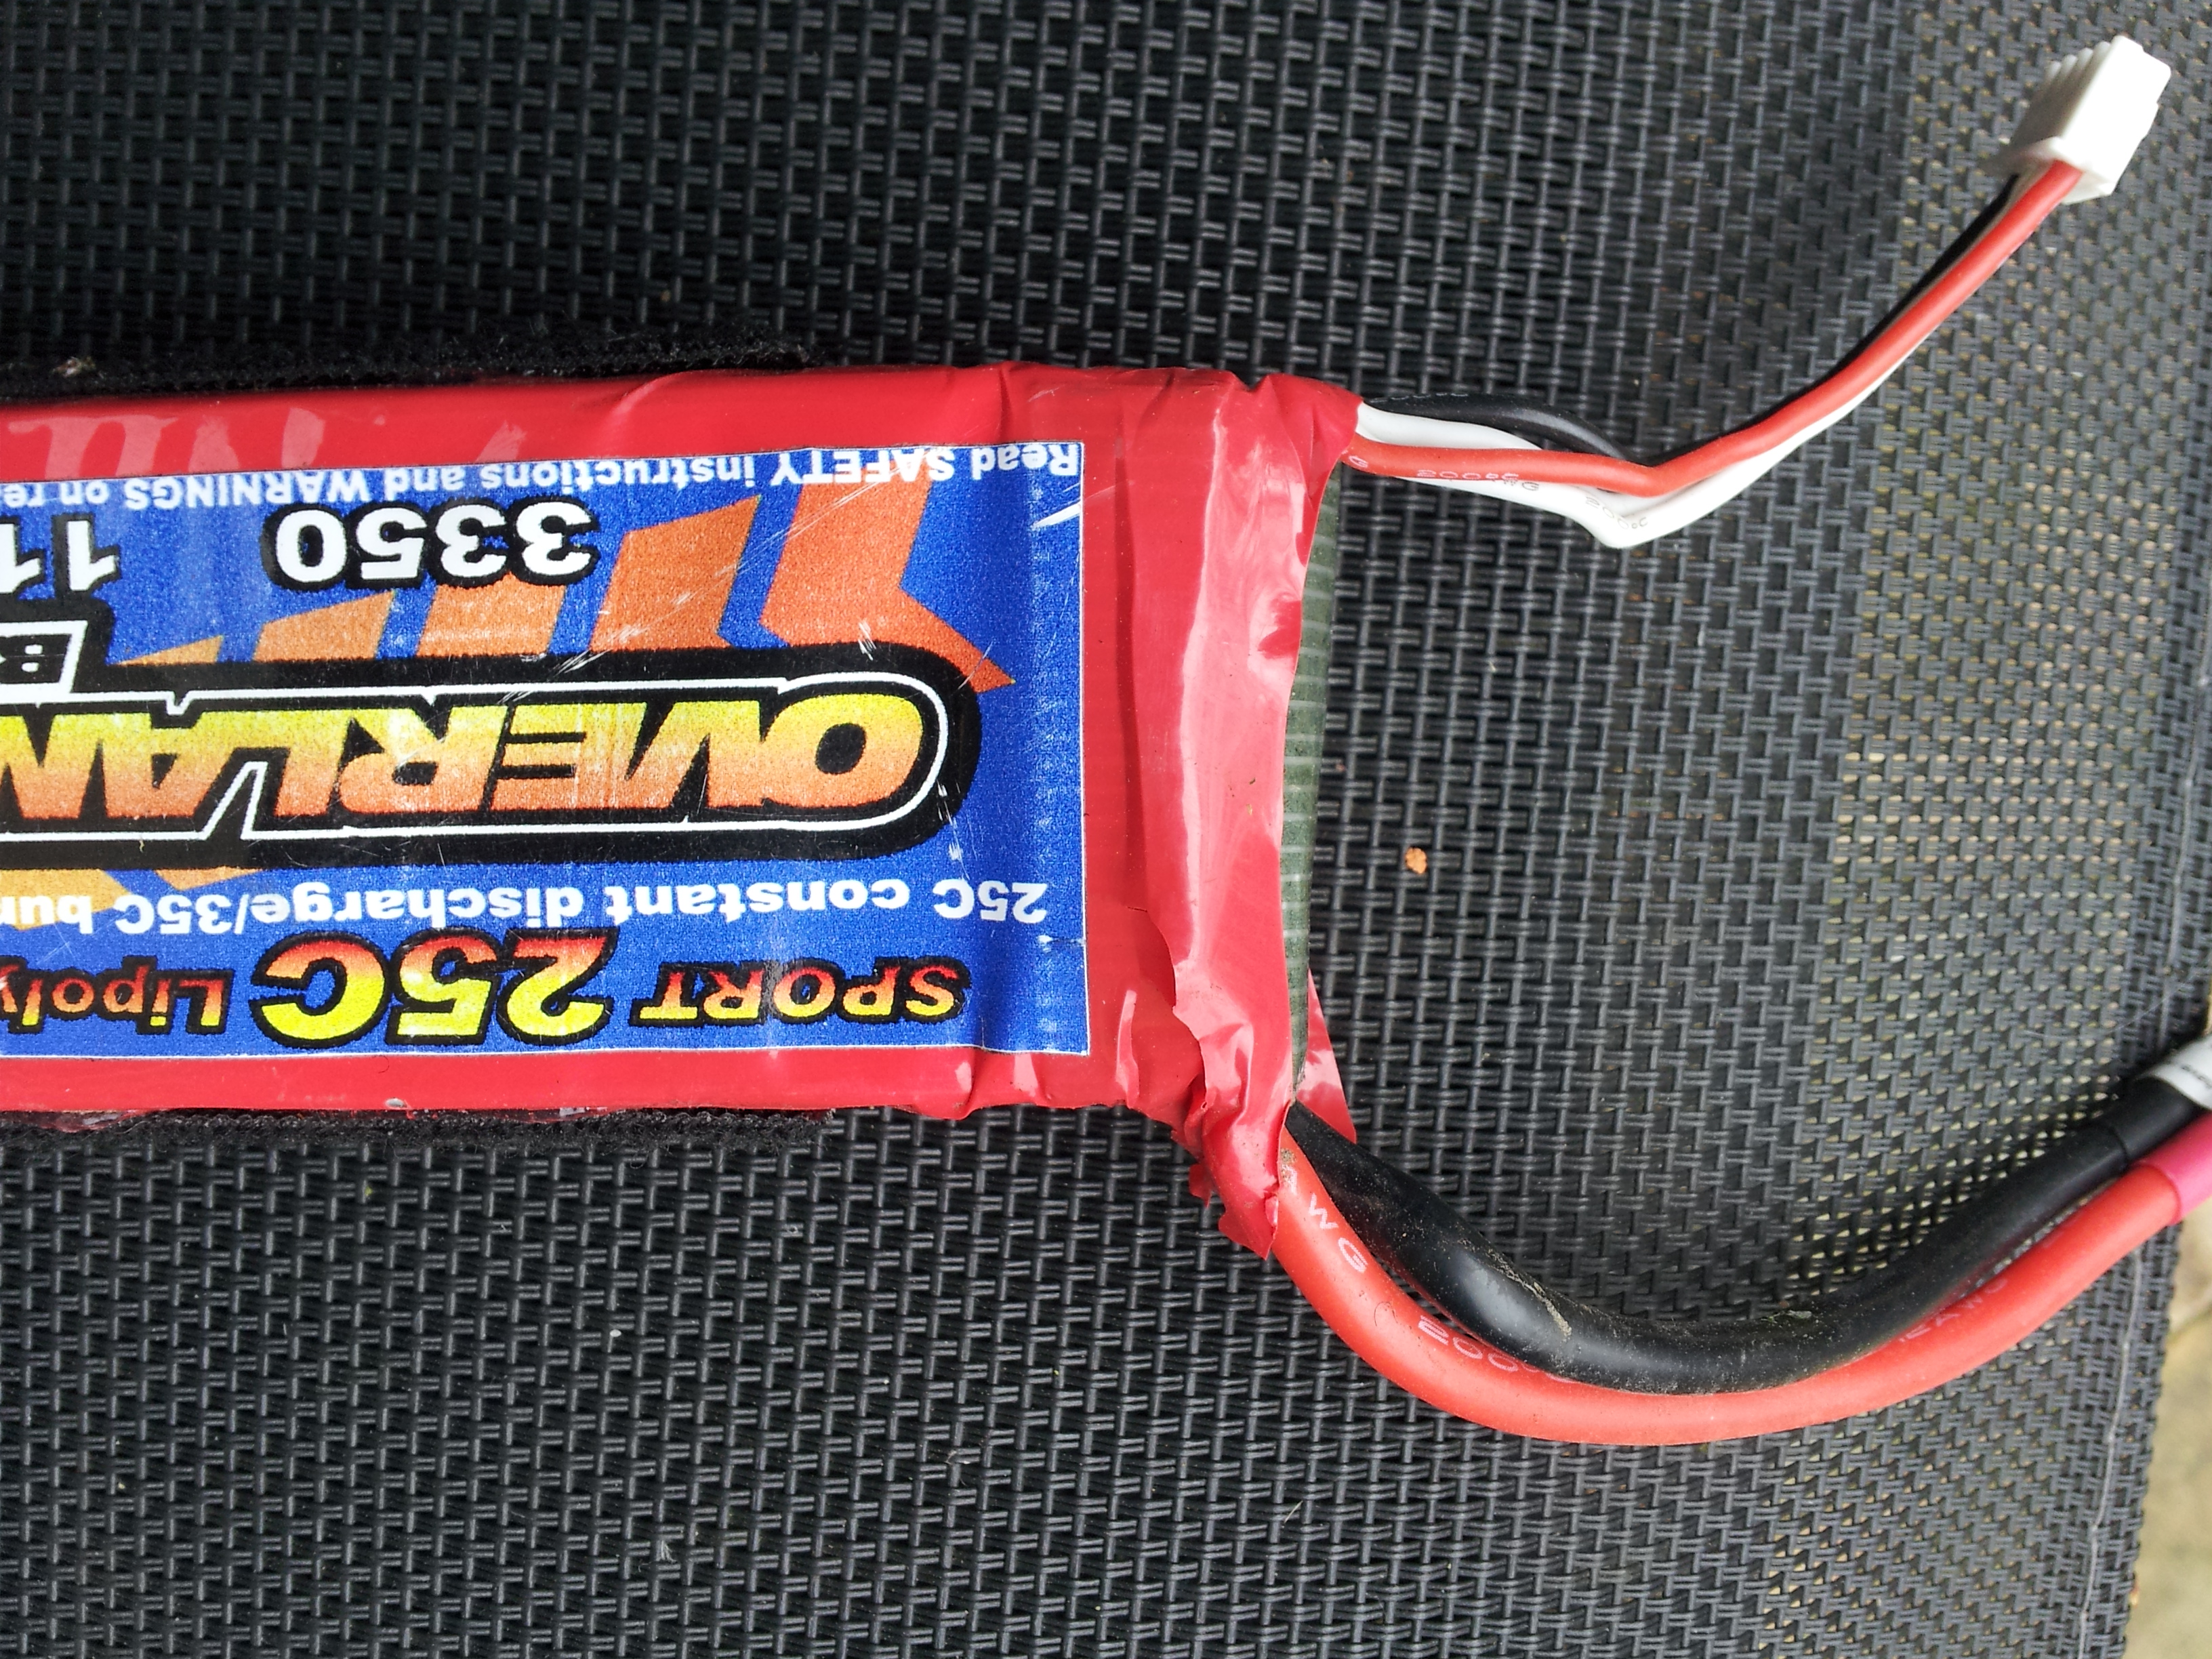
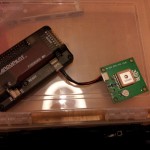
The battery looks too badly damaged to use. It’s not quite punctured, but it’s bashed up and misshapen. I may try recharging it out of curiosity, but I expect it to set on fire, explode or quantum leap or something – who knows with these lipo things. Quantum lipo. A friend has loaned me two new batteries, which are higher capacity (3900mAh) but weigh more – so we’ll see how that works out for performance and flight time.

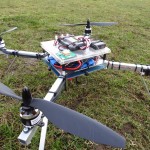
A couple of the other props got damaged, but the motors, ESCs, and controller stuff seem all fine.

The two arms where it hit the ground were bent quite badly.
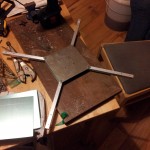
2013-05-04 12.06.50

Rebuild

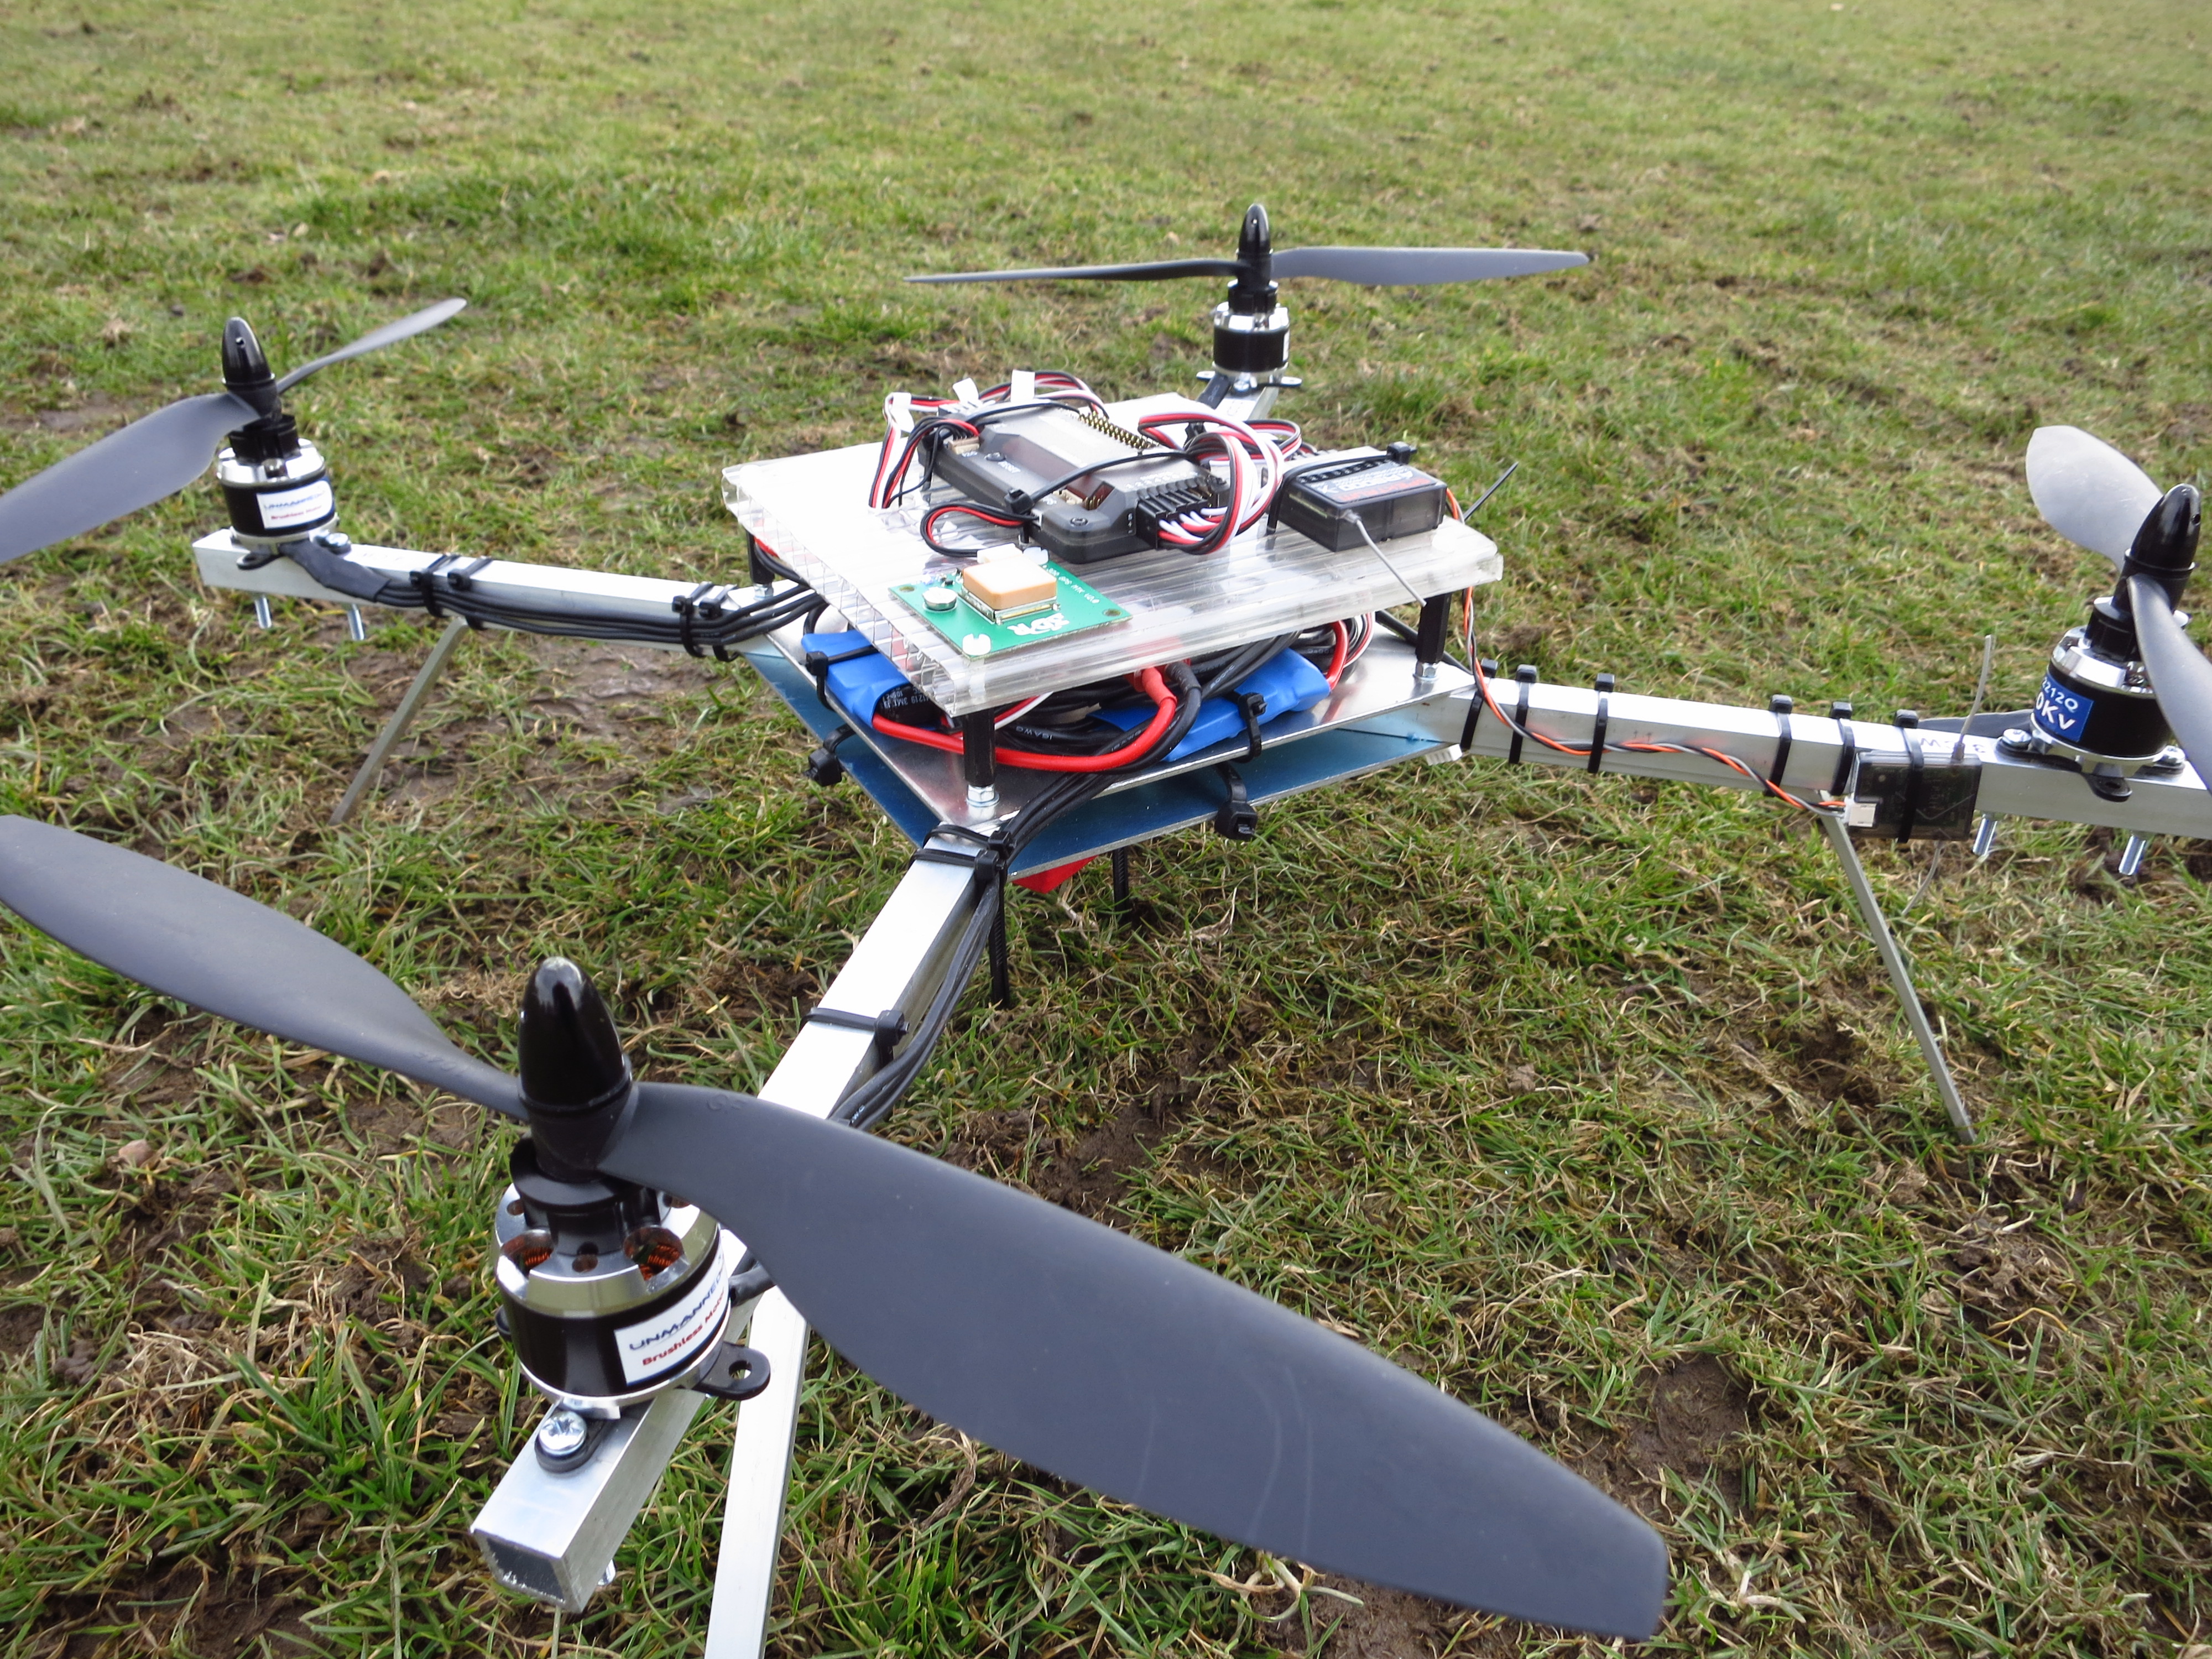
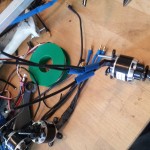
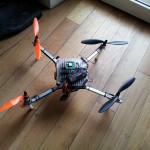
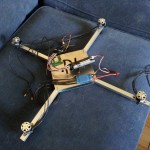
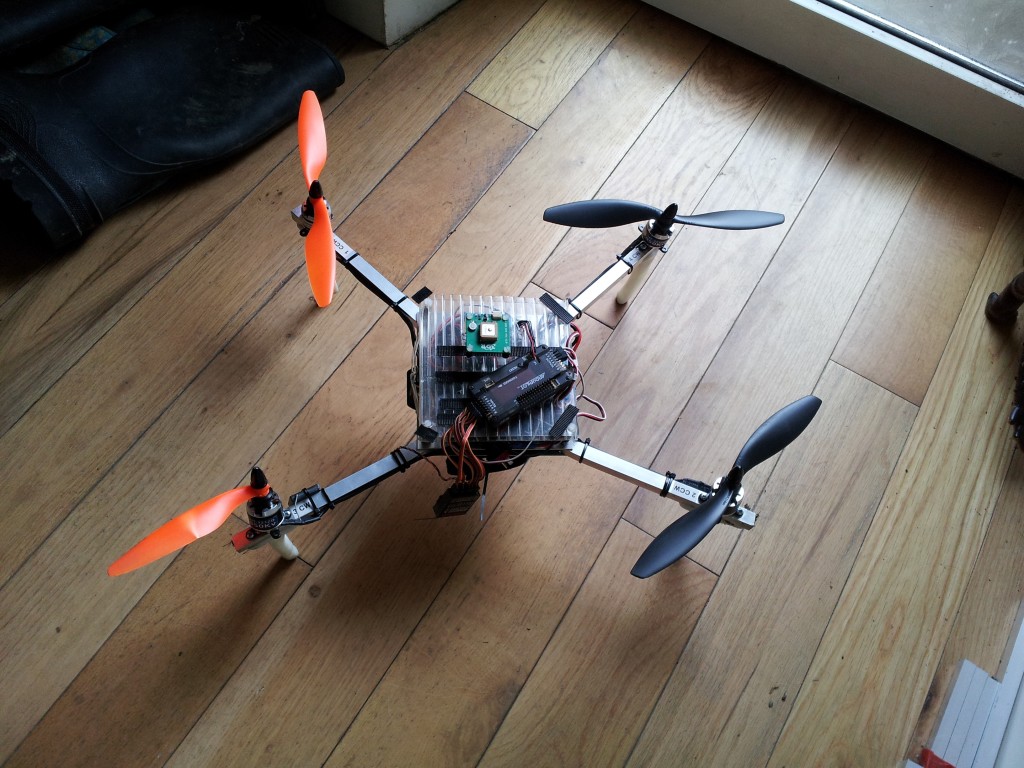
It’s taken me about a month to get around to it, but I’ve finally rebuilt it. The new frame is pretty much the same design as before but with a couple of minor modifications. I mounted the arms less closely to the middle of the base, so there is more space for cables, and I mounted the motors about 1cm closer to the end of the arms. So the result is that the motors are about 2-3cm further away from the base, which I expect to change the behaviour slightly and gives me more headroom between the props and the base – they were quite close before and prevented me from mounting some bits close to the edge of the base.

2013-06-16 15.33.02
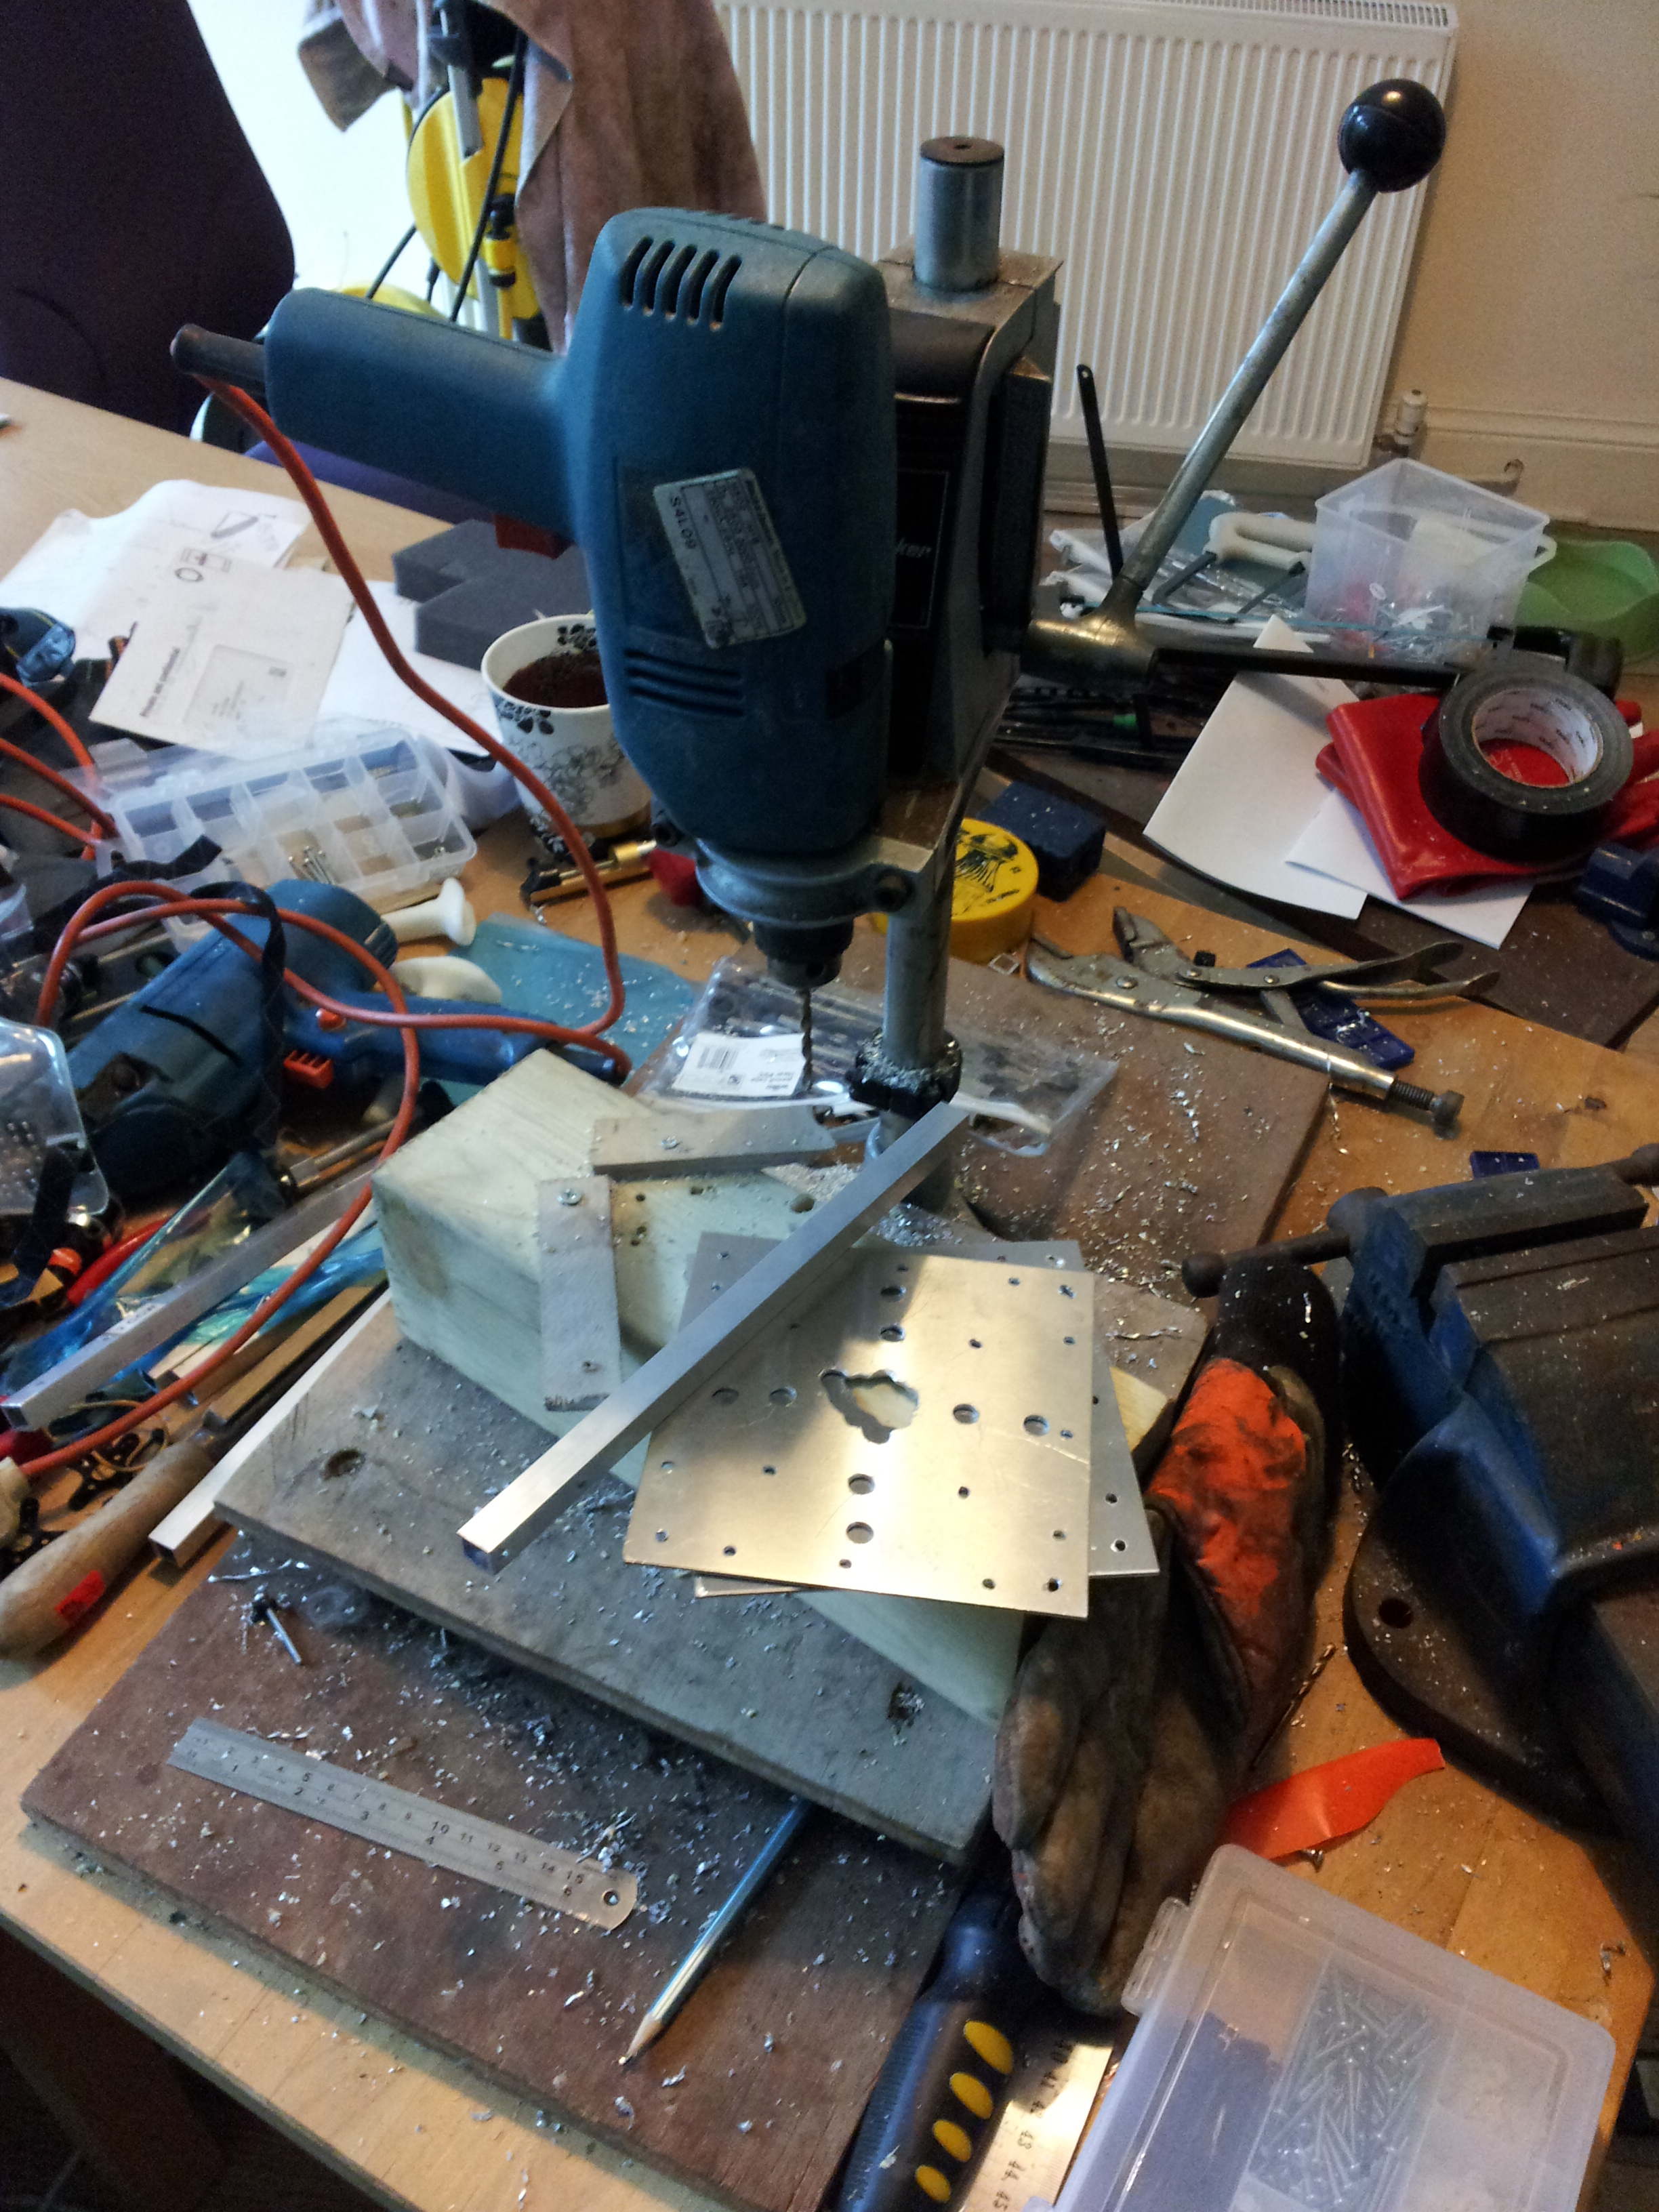
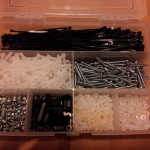
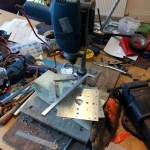
Since my first build I’ve acquired a power drill mounting and I built a wooden jig to keep the two bases in place, which meant I was able to drill holes much more accurately. I also drilled lots of extra holes which I knew would be handy, so more places to run cables and pass through tie-clips. It’s much tidier now.

Lastly, in an effort to isolate vibration better, I put patches of neoprene where the arms are bolted to the base plates, and where the motors are bolted to the arms. The neoprene was an old laptop “skin” I cut up. I had to remove it from the motors as it meant they weren’t mounted perfectly square, so the craft was spinning a bit. I’m not really certain how effective this is as I don’t really have any data to back it up so it’s a bit cargo culting atm. I may experiment with this more scientifically at some point.

I bought some much sturdier carbon-fibre reinforced propellers too – I’ll write about my efforts to balance them properly later.

In summary, crashed it due to cheap propellers and I took the opportunity to rebuild the frame with some improvements. No horses were harmed.

Quadcopter training game

It turns out that whilst I have the ability to build a quadcopter (it’s actually not that hard) I don’t quite have the ability to fly the thing around without risking crashing it into nearby fleshy things, or trees.

And whilst there is a little glee involved in a crash (it gives you things to fix, yay!) it slows the learning process somewhat and the propeller smashing can be expensive.

I tried to get the flightgear simulator working so I could practice on my computer, but it’s really complicated and I had little success.

Quadcopter training game

So I wrote a game to help me practice. It’s a 2D top-down quadcopter simulator. It makes no attempt to seriously simulate real physics or even a real a quadcopter. Instead, it aims to just help you become familiar with the transposing of controls as the aircraft rotates around. It’s meant to be controlled using your real radio control, via an ArduPilot controller.

You can see it in action here:

It doesn’t really have a goal at the moment, you just fly around the screen. Once it a while it randomly perturbs the aircraft, sending it spinning off in some direction as if it clipped the ground or something and you have to rectify it. The perturbing is interesting, because I do fine flying around slowly but panic when I clip something.

I was very bad when I first started playing, but I’ve been getting better and it’s definitely translated to better real-world flying.

I wrote it in Ruby, using the Gosu game library (which has a few native dependencies). I’ve only tested it on Linux (Ubuntu). The code is on github. Works for me.

Several test flights later

Quadcopter
I’ve been doing a few test flights of my Arducopter-based quadcopter over the last couple of weeks, when it wasn’t snowing. The first flight test wasn’t so successful. Whilst it flew, I couldn’t get it much above about 1-2 metres off the ground even at full throttle. This turned out to be due to miscalibrated ESCs, which didn’t know what a full throttle signal from my transmitter looked like.

Once recalibrated, it flew pretty well but my inexperience led to a few crash landings and a few broken propellers (no major damage though). It also drifted around quite a bit, but I improved that by recalibrating the accelerometers much more carefully.

I tested out the “return to launch” (RTL) feature a few times too. The idea is that the quadcopter remembers the gps coordinates of the launch point, and when RTL mode is enabled, it flies home automatically. The exact behaviour involves it flying up to a safe altitude (above any possible trees and such), then flies home, holds it’s position there for 5 seconds and then lands.

The first time I tested this, it seemed to work but instead of holding its position, it flew off into a nearby tree. I tested it a couple more times and it worked once, but veered off again another time. I later discovered reported problems with gps accuracy with the Arducopter firmware version I was using (2.9.1). Upgrading to 2.9.1b seems to have improved the behaviour a lot, but RTL isn’t yet something I’m comfortable trusting.

I did discover that the arducopter firmware keeps quite detailed telemetry logs of its flights, along with gps coordinates and altitude. Very good for figuring out what went wrong afterwards.

Control-wise, a major breakthrough for me was realising I didn’t necessarily need to keep pointing the “front” of the aircraft where I wanted to fly. It can go in any direction at any time, you just need to keep track of where the front is pointing to know where roll and pitch will get you. This is admittedly a bit hard to keep track of, so I think I’ll paint the legs or something to help with that. When it’s up high, especially with the light behind it, it’s quite hard to tell whether it is turning towards or away from you. Need more practise.

I also had some problems with the legs sticking in the ground (or breaking) on heavy landings. I’m making some improvements and might blog about that later.

And I stuck an old plastic takeaway container on top to protect a bit from rain and snow. Which worked well until I crash landed it today and smashed it.

IMG_1977_cropped

And today, I strapped an old Android smartphone to it and recorded a first person view of a flight. It was an old cheap phone so the video quality is poor, but it’s still exciting. I’m researching what cameras I can get to record higher definition video atm – I’ll post about that later.

Overall, it’s been quite stable and much sturdier than I’d imagined. It’s a little stressful to fly but I’ve managed to resist the urge to panic and drop throttle any time I’m not certain what is going on. I’d definitely recommend doing your test flights in a large empty grassy field (not a hard road surface), well away from people and buying quite a few spare propellers (which I did).

I’ve gathered all my videos so far into this Youtube playlist.

Quadcopter build, aluminium frame

quadcopter frame take 1

I decided very early on that I wanted to build my own frame rather than buy a kit or anything. I wanted to learn some new skills, but I also expected to be crashing this thing quite a lot and didn’t want to have to keep waiting for new parts to be shipped out (or worse, find them out of stock!).

After some research, I decided to skip carbon fiber (for now?) and use aluminium. It’s strong, lightweight, cheap and pretty easy to work with. I asked around a few local fabrication companies but there apparently aren’t any aluminium stockists in Bradford any more. I gave up and bought online from aluminiumwarehouse.co.uk which worked out nicely, except for the £15 delivery charge.

I bought some square tubing of various sizes for the arms and a length of flat for some odd jobs (perhaps the landing legs). It’s pretty cheap (especially compared to buying from a diy store) so I bought about 10 metres in total. I could build a fleet of quadcopters with this.

I looked into getting the center plates laser cut by a local firm, but it turned out slightly too expensive. £5 each for up to 10 isn’t too bad really, but I wanted quite a few plates in case of crashes and I want a bit more flexibility with the layout as I develop the design. So instead I just got some blank square plates cut to size by aluminiumwarehouse at about 50p each (for 140mm x 140mm x 2mm) and am drilling them manually. I think the 2mm is a bit overkill, and each plate weighs in at 100 grams. I reckon I could have gotten away with 1mm even.

I’m using titanium-coated drill bits; a high rotational speed is recommended for aluminium, but I’ve done just fine with my battery powered drill which isn’t that fast.

And just a reminder to clamp your plates down firmly so the drill doesn’t catch them and fling them around like blunt alloy throwing stars.

I’ve started out with the 12.7mm x 12.7mm x 1.6mm tubing for now – it seems more than solid enough. Drilling the center plate has proven a little fiddlier than I’d hoped and one of my arms isn’t mounted as square as I need. But that’s why I bought lots of extra blank plates!

I cut the tubing using a hacksaw but it came out with uneven ends which makes it difficult to measure and align things. Next time I’ll use the mitre saw (for which I bought metal cutting blades just for this purpose, doh!).

The finished arms and plates (and screws) come in at 400 grams in total. I’m planning to cut some holes in the plates which might lighten it a bit, much not much.

Quadcopter build, first steps

After weeks of research, and then days of cultivating a Farnell
shopping basket, I finally handed over some cash for the first parts
for my quadcopter. Lots of nuts and bolts, cable ties, spacers and
other misc. Plus Amazon and Ebay purchases too: heat shrink stuff,
connectors, various tools and nice new variable power soldering iron
to replace my (admittedly very trusty) 25W Weller.

The frame stuff was in excess of the cost of a off-the-shelf
quadcopter frame kit, which did make me almost reconsider building my
own. A kit obviously gives you all the parts for one frame, and I have
enough parts here to rebuild my own frame 10 times over, for around
the same cost (though I’ve still to buy the aluminium, but that’s
quite cheap). From what I’ve read, frame breakage is to be expected,
especially if you’ve not flown anything before, so the idea is this
will pay for itself. It’s also going to be way more fun, and I’ve
already learned loads of new things about lots of diverse subjects!

I also ordered an Ardupilot APM 2.5+ flight controller, with the gps
addon. I went without the telemetry module for now – looking to
integrate it with my (to be chosen) transmitter’s built-in telemetry
display.

I’ve yet to choose transmitter, motors, escs, props or battery.

Plan is to get this flying and learn how to fly it before starting
down the first-person-view video setup.

I’ll try to keep up with blogging about it and file them all together here in the Quadcopter category.

Quadcopter build photo gallery